
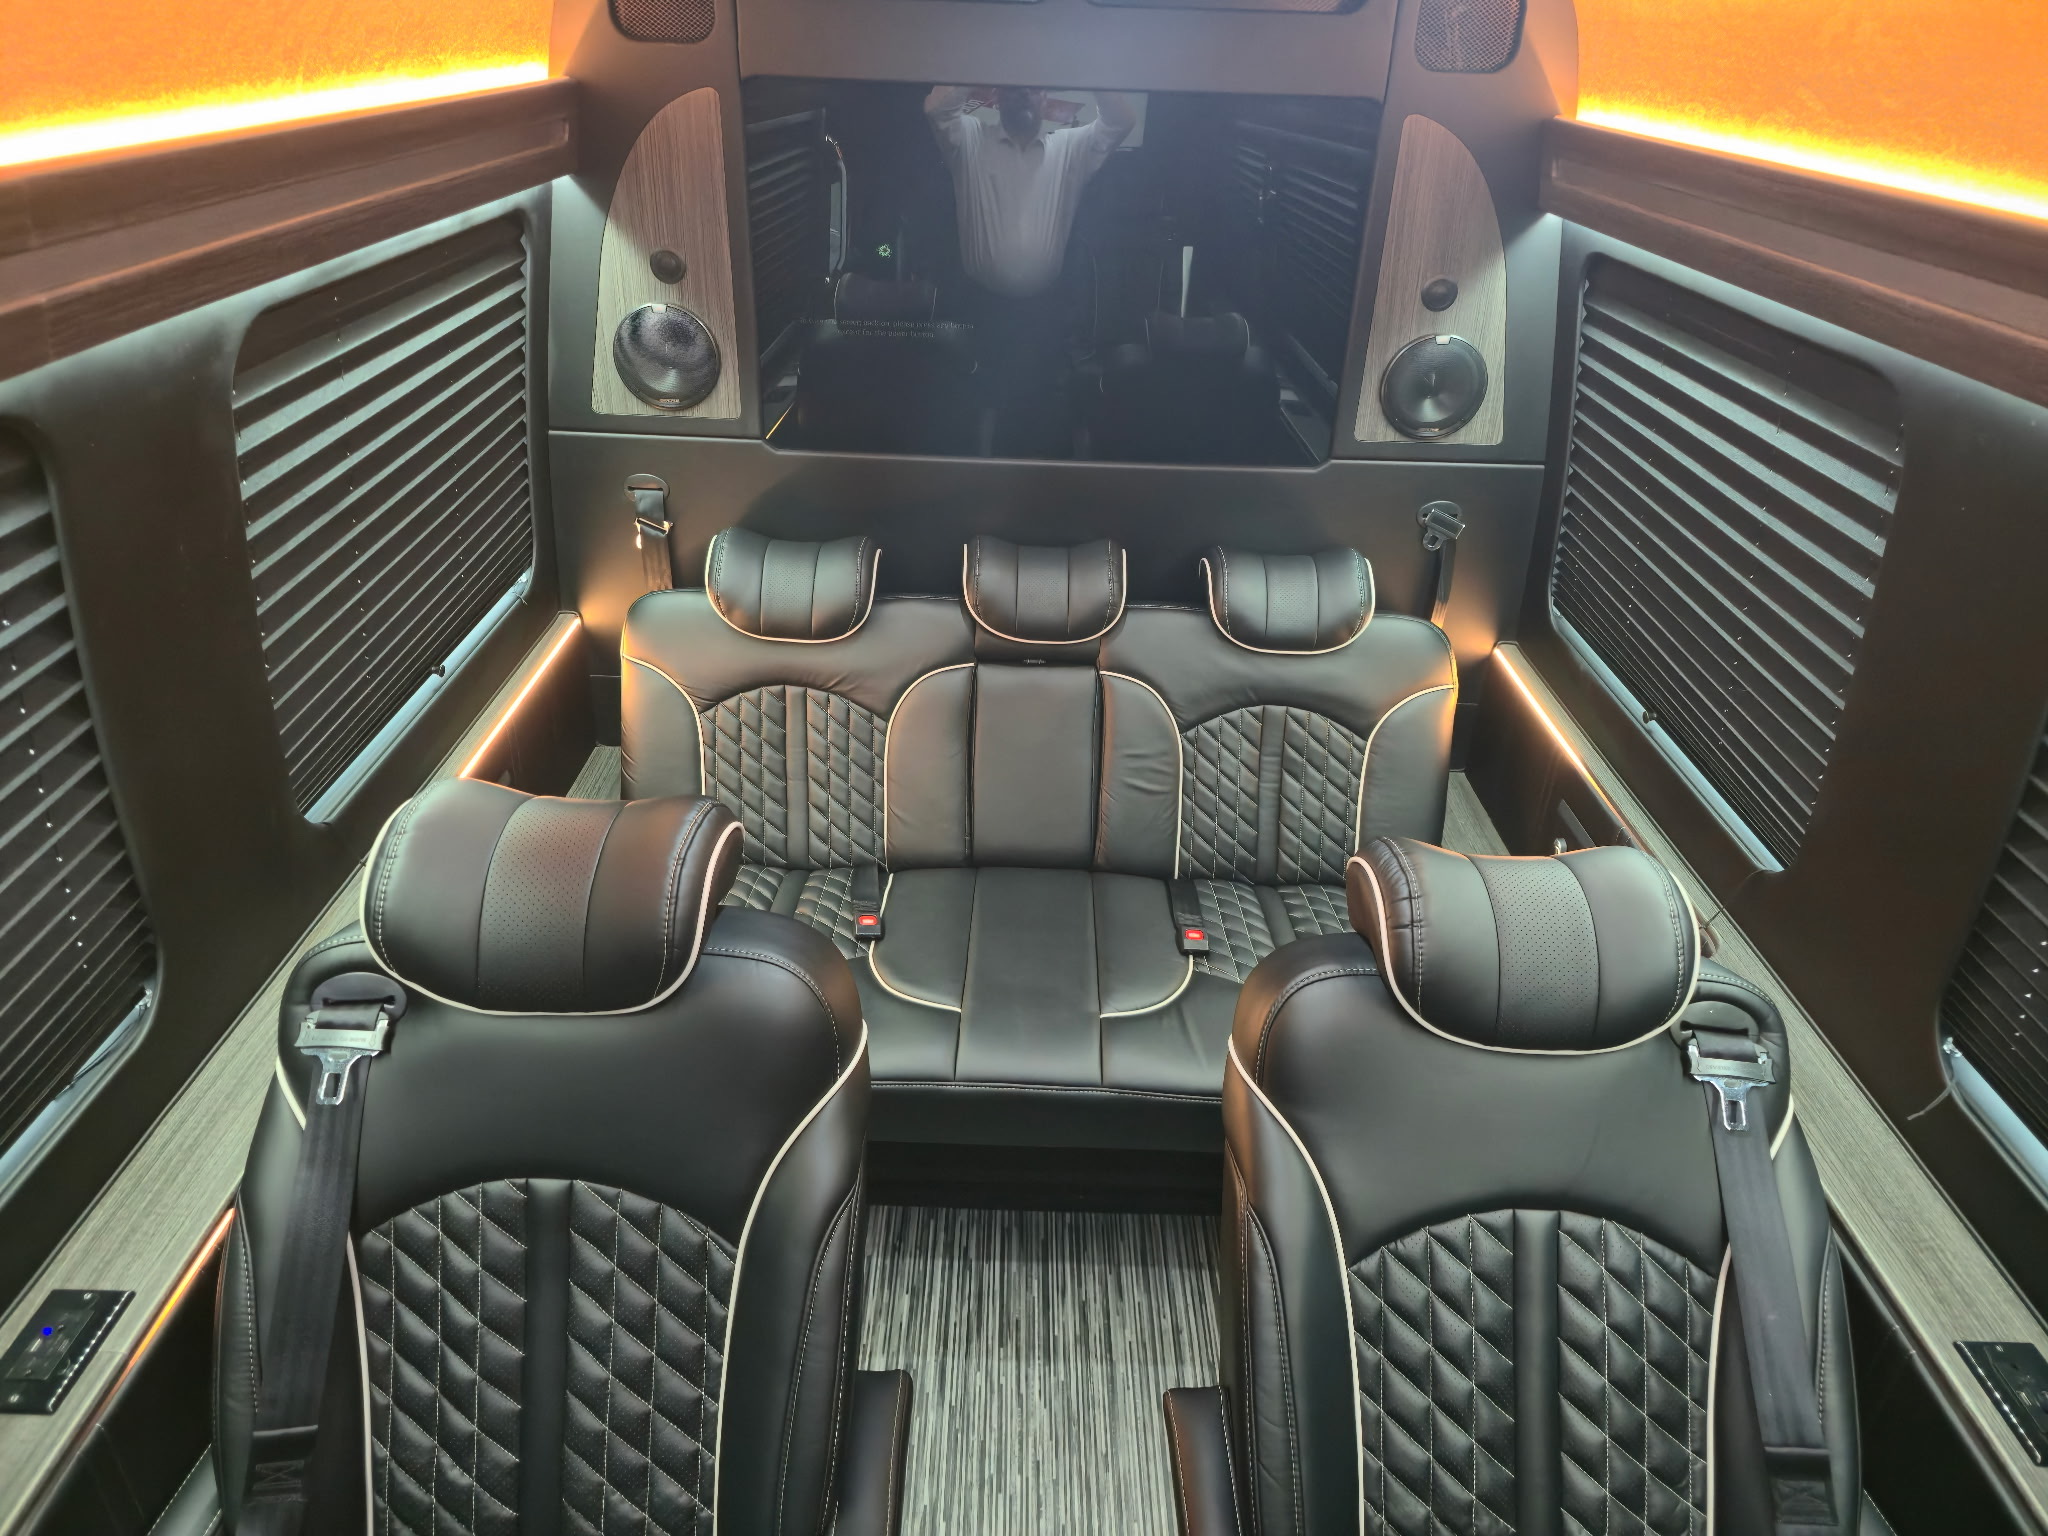
A horse-show weekend creates two different transportation jobs. The horse and animal-care equipment belong in a properly selected and maintained horse trailer. Riders, family, clean clothing, luggage and hospitality supplies may be better served by a separate luxury passenger van.
That distinction matters. This guide is about buying the people-and-support vehicle, not using a passenger conversion to transport horses.
Hero photo: Dufourfun-owned sales media from the current 2020 Mercedes-Benz Sprinter 3500 listing. Creator not supplied; used with the business owner’s permission. It illustrates a belted passenger layout and is not presented as a horse-show scene.
1. Start with the weekly routine
List every person and item that moves together on a normal show day:
- riders and parents or owners;
- trainer or support staff;
- show clothes and boots;
- helmets and personal tack;
- overnight luggage;
- food, water and charging gear; and
- small clean supplies that are appropriate to carry inside the passenger vehicle.
Then identify what should not enter the cabin: manure-contaminated tools, wet blankets, fuel, chemicals and loose heavy equipment. A luxury interior is easier to live with when the clean/dirty boundary is decided before the first trip.
2. Build three zones
| Zone | What belongs there | Buyer test |
|---|---|---|
| Passenger zone | People, phones and small personal items | Every traveler has a designated, belted seat |
| Clean gear zone | Garment bags, helmets and luggage | Items fit without blocking the aisle or exits |
| Contained utility zone | Boots or small supplies in closed washable bins | Bins have a secured location and cannot slide |
NHTSA’s secure-load guidance says cargo should be tied down so it cannot drop, shift, leak or escape and should be checked before travel. In a passenger van, the practical standard is stricter: a sudden stop should not turn a tack trunk, water jug or folding chair into a projectile.
If the gear volume overwhelms the restraint plan, use the trailer’s proper storage or a second cargo vehicle. Do not solve a capacity problem by stacking loose equipment around passengers.
3. Calculate payload after the conversion
The empty chassis is not the finished van. Luxury seats, cabinetry, flooring, electronics and batteries all consume payload.
Mercedes-Benz’s current Sprinter Body and Equipment Guidelines define payload after upfit using the completed vehicle’s weight. The door label and exact build documentation matter more than a general brochure.
For a candidate van, write down:
- finished curb or unloaded weight;
- GVWR and front/rear axle ratings;
- actual weight of riders and driver;
- luggage and contained gear;
- liquids and supplies; and
- the margin left for real-world variation.
Ask for a certified scale ticket with separate axle weights. A total can be under GVWR while one axle is still overloaded.
4. Protect the cabin from the showgrounds
US Equestrian’s biosecurity guidance advises avoiding shared equipment unless it is cleaned and disinfected. USDA also recommends cleaning and disinfecting tack, boots, equipment and grooming supplies before returning home in its horse-owner biosecurity guidance.
A van layout can support those habits:
- keep clean show clothes in a closed cabinet or garment space;
- carry washable, removable boot trays;
- use sealed bins for equipment moving between barn and vehicle;
- choose flooring that can be cleaned without damaging seams; and
- make ventilation and odor control part of the test drive.
Editorial recommendation: treat the passenger van as a clean support space. The horse trailer remains the animal-transport system, with its own inspection, maintenance and health requirements.
5. Test comfort after a long day
Captain chairs feel good in a showroom. The better test is the exhausted return trip.
Have the tallest rider sit in every position. Check knee room with the seat ahead occupied, access to belts, USB power, temperature at the rear bench and whether garment bags block visibility. Run the rear air while the van is stationary and again at highway speed.
Also test the smallest and least mobile passenger. Step height, grab handles and the powered door can matter more than accent lighting when the group is loading before sunrise.
6. Decide whether towing belongs in the plan
Do not assume that “Sprinter 3500” or a heavy-looking conversion means it can tow your horse trailer. Towing depends on the exact chassis, hitch, GCWR, axle loads, trailer weight, tongue weight and finished conversion. A seller should document all of them.
US Equestrian notes that interstate horse travel requirements vary by destination and advises route planning and trailer inspection in its equine transport guidance. If one vehicle is expected to tow, have the complete combination reviewed by qualified vehicle, trailer and equine-transport professionals. A separate tow vehicle and passenger van may be the clearer system.
7. Buy only after a show-day simulation
Load the intended riders, garment bags, helmets, luggage and empty storage bins. Confirm every seat and restraint, then drive the route you actually use: highway, fuel stop, narrow entrance and gravel lot where permitted.
The goal is not maximum capacity. It is a repeatable system that keeps people comfortable, exits clear and gear secured.
Compare available luxury vans with that checklist. If the clean zones, payload margin or seat plan do not work, design a custom layout around the measured routine rather than hoping the cabin adapts later.