
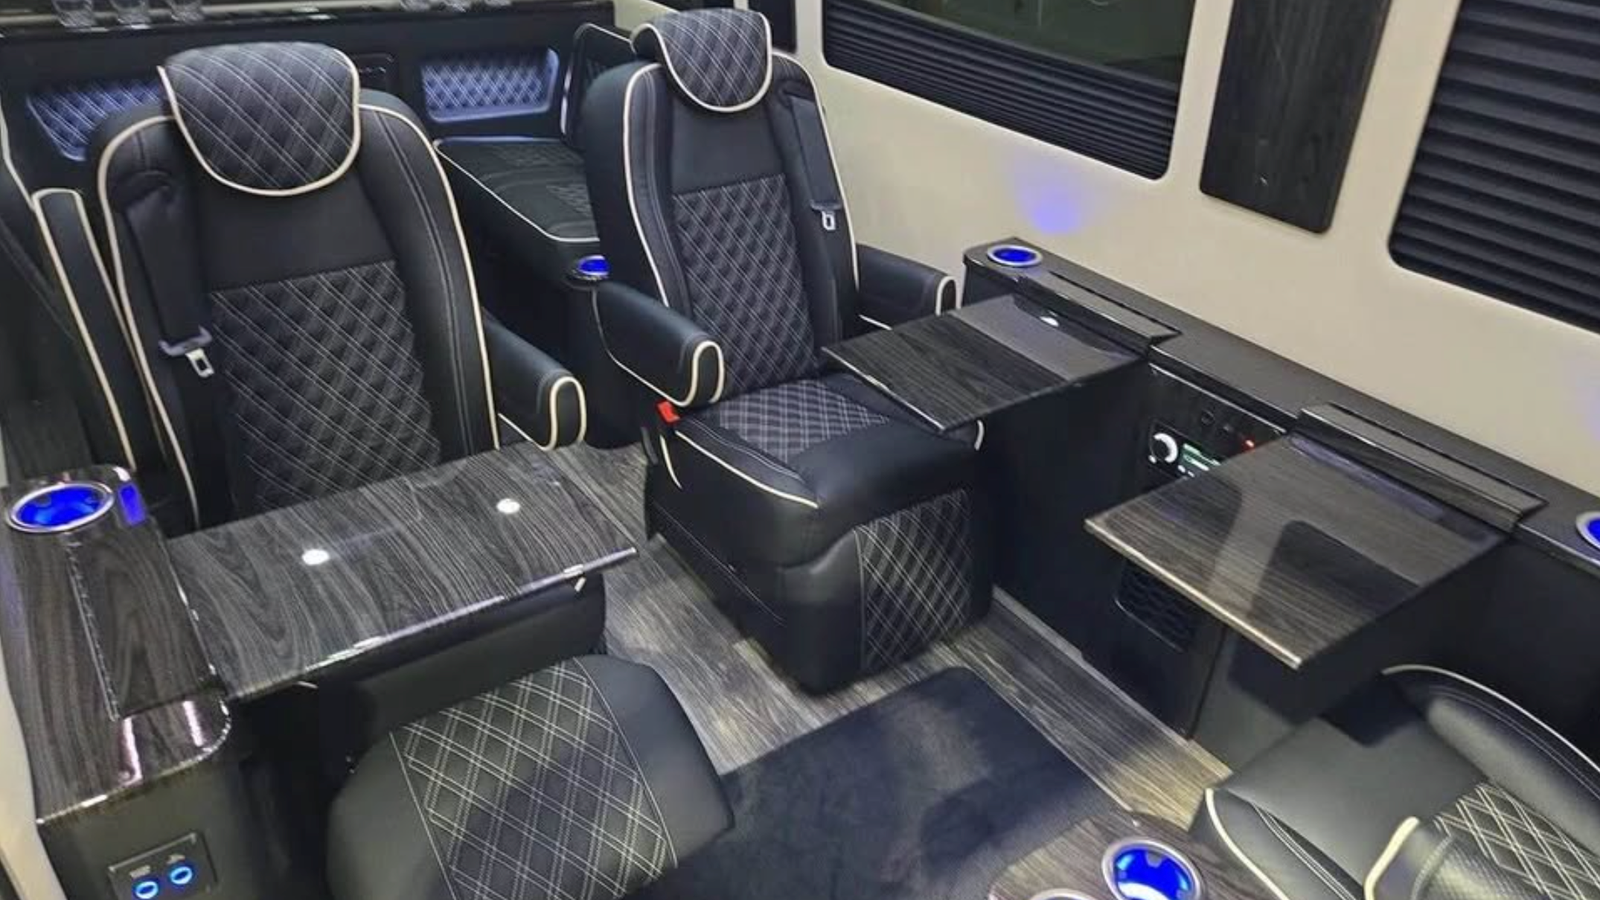
Power recline, massage and swivel functions are easy to demonstrate in a showroom. The more important question is simpler: Can every regular passenger buckle correctly in the position approved for travel?
NHTSA’s seat-belt guidance says the shoulder belt should cross the middle of the chest and the lap belt should rest across the hips, not the stomach. It also tells buyers to check belt fit before purchasing a vehicle. That advice matters in a converted Sprinter because seating, armrests, tables and cabin furniture vary by floor plan.
Hero photo: business-owned Dufourfun Vans listing photography, used with owner authorization. The individual photographer was not recorded. View the original image. The image illustrates a luxury passenger cabin and does not certify a specific seating position.
Run the test with the people who will ride
Do not let one adult test every seat. Bring the shortest and tallest regular passengers, anyone with limited shoulder mobility and the person who will most often use the rear row. If a child restraint is part of the plan, follow both the restraint manufacturer’s instructions and the completed vehicle’s documentation.
A useful test takes about 20 minutes.
| Check | What to do | What should stop the purchase |
|---|---|---|
| Belt fit | Sit fully back and route lap and shoulder sections normally | Belt rides on the neck, face or abdomen with no approved adjustment |
| Buckle access | Buckle and release without moving a table or another passenger | Buckle is buried, twisted or confused with the next seat |
| Webbing | Pull the belt out fully and let it retract | Fraying, cuts, snagging or incomplete retraction |
| Locking | Pull the belt sharply after buckling | It does not lock or the latch releases |
| Travel position | Put swivel and recline in the documented riding position | Seller cannot identify or demonstrate the approved position |
| Egress | Have adjacent passengers exit while belts are stowed | Loose webbing or furniture blocks the aisle or door |
If anything fails, treat the seat as unavailable until the completed-vehicle manufacturer or a qualified service facility resolves it.
1. Start upright, then test the comfort features
Deep recline may feel excellent while parked. It is not a substitute for the manufacturer-approved riding position. NHTSA-hosted owner guidance warns that excessive recline can move the shoulder belt away from the chest and increase the chance of sliding under the belt in a crash.
Ask the seller to show you the travel position for each powered chair. Save that position if the seat has memory, then confirm a passenger can return to it without guessing. A seat can be a lounge chair when parked and a travel seat when moving; those are different jobs.
2. Test every buckle, not every chair type
Six matching captain’s chairs do not guarantee six identical experiences. Cabinet placement, armrests and aisle geometry can change how easily a passenger reaches the buckle. Food crumbs or small objects can also interfere with a recessed buckle.
Pull each belt to its full extension, inspect the webbing and let it retract. Latch it, tug near the buckle and verify that it remains locked. NHTSA-hosted seat-belt inspection guidance recommends checking webbing condition, buckle operation and smooth retraction.
Do not disassemble or lubricate a buckle based on an online tip. Report a failed or sticky component and have it evaluated.
3. Make the swivel position unambiguous
Swivel chairs add real value when the van is parked. Before buying, ask three direct questions:
- Which direction is approved for travel?
- What locks the seat in that position?
- Where is that instruction documented?
The answer must come from the finished vehicle’s documentation—not from how the chair happened to be displayed. Mercedes-Benz’s Body and Equipment Guidelines make clear that upfitters are responsible for complying with applicable laws and technical limits. The upfitter’s certification label, seating documentation and owner instructions therefore matter.
4. Check the layout around the belt
A lap table can be useful while parked and still be awkward during boarding. A power leg rest can feel generous and still crowd the buckle. Test the cabin in this order:
- stow tables and leg rests;
- put every chair in its travel position;
- buckle all passengers;
- confirm the center aisle and sliding-door path are clear;
- drive on a normal road;
- stop and let the farthest passenger exit.
If the routine requires several people to unbuckle or move furniture, that friction will repeat on every trip.
5. Separate model features from your exact van
Current luxury-van model pages show how widely seating packages vary. Ultimate Toys, for example, lists a 10- or 15-passenger seat-belt package for its Ultimate Limo family, while Midwest describes custom belted seating and swivel options. Those are manufacturer descriptions, not proof of the configuration in a used or custom van.
Verify the exact vehicle: count belts, read the labels, request the floor plan and match the VIN to the completed-vehicle documents.
Buy the seats you can actually use
A beautiful cabin with two awkward positions is not a ten-seat solution for your family or business. Begin with View Vans for Sale, run the test in every seat and record the usable result. If you need a different buckle location, aisle or seat count, Build Your Custom Van with those requirements documented before construction.